How to Install Plug-In Solar, Step by Step
From legal check to first watt: mounting, wiring, circuit selection and commissioning — including the mistakes that damage inverters and overheat circuits.

WattRank is reader-supported: we may earn a commission if you buy through links in this guide. This never affects our rankings.
Key facts
- A typical balcony or ground-mount kit assembles in 2-4 hours with hand tools; no electrician is needed where a plug-in framework is in force.
- The non-negotiable electrical rule: use the exact evaluated circuit-protection mode—dedicated branch, integrated overcurrent protection or approved power control—required by the product and local pathway.
- Microinverters commission only in daylight: they boot from panel DC power and cannot be paired at night.
- Most setup apps require a 2.4 GHz Wi-Fi network; 5 GHz and merged-band networks are a common cause of failed pairing.
Before you open the box
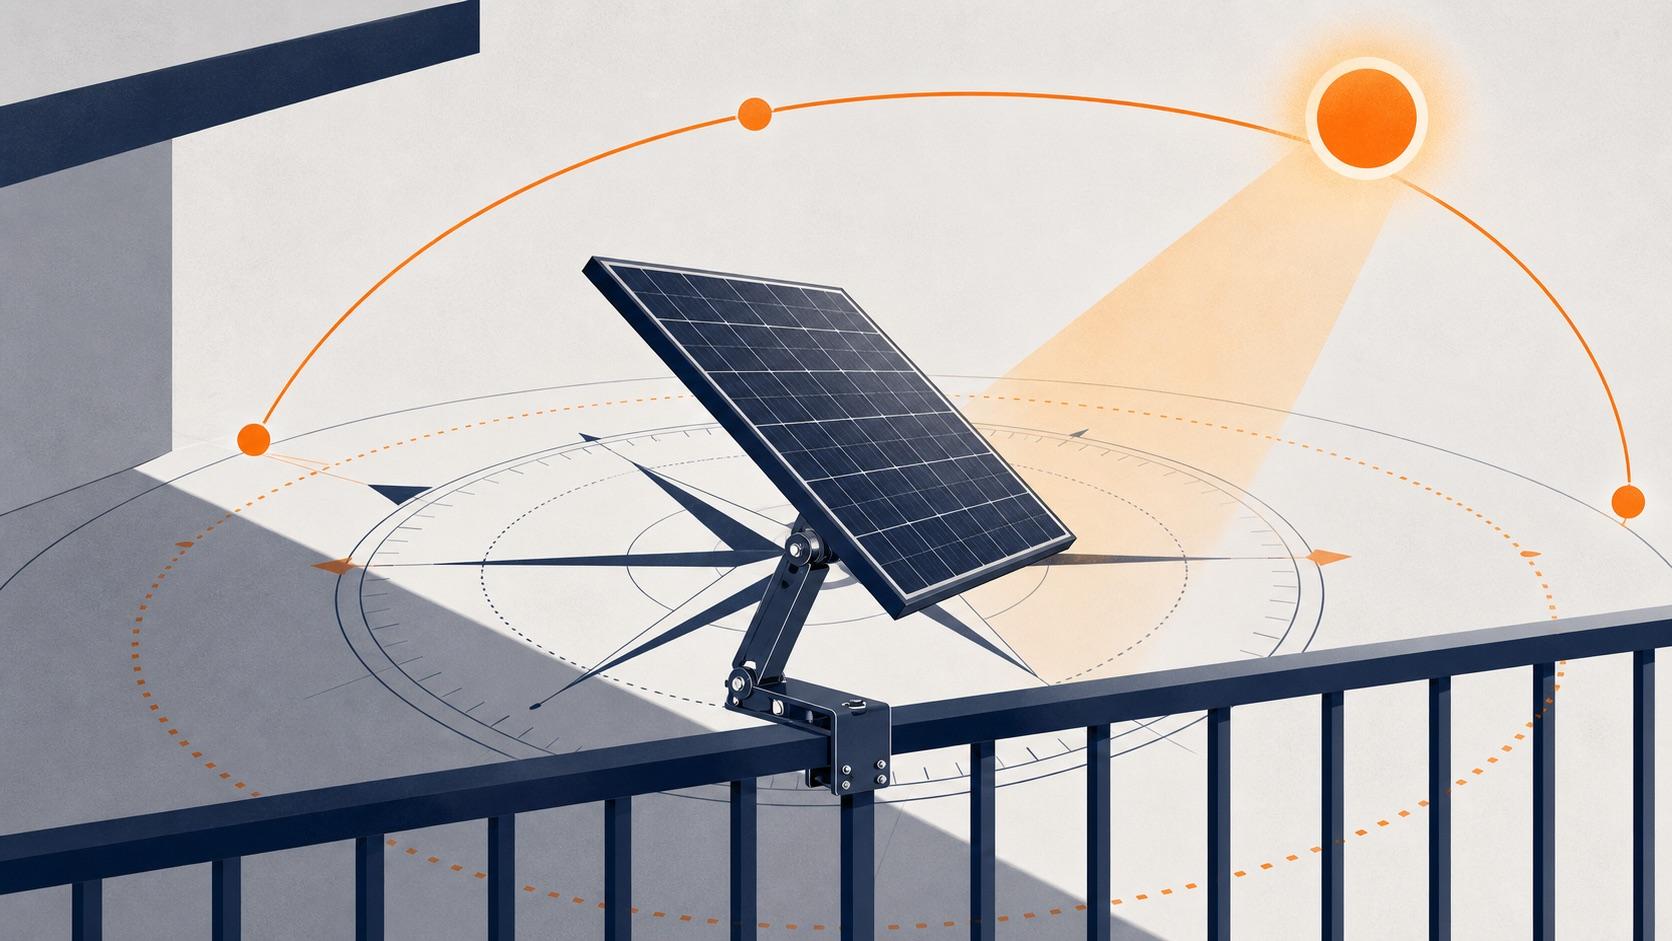
Three checks come before any hardware. First, the legal pathway: confirm that plug-in solar has a route where you live — an effective state framework in the US, the 800 W registration route in Germany, or Britain's made-but-not-yet-effective route, which commences on 27 August 2026 — because installation steps assume you are allowed to connect at all. Second, permission for the location: written landlord, freeholder or HOA consent for anything mounted on a railing, façade or shared structure. Third, the site itself: you want at least four to six hours of direct sun, a mounting surface the kit's hardware is actually rated for, and an outlet within reach of the kit's AC cable — extension cords are not an acceptable substitute at any point.
While you are at the outlet, identify its circuit. Open the breaker panel, find the breaker that controls that outlet (flip it and check), and note what else lives on the same circuit. This five-minute exercise drives the most important decision of the whole installation, covered below. If the panel is unlabeled, this is the moment to label it.
Step 1 — Assemble the mount
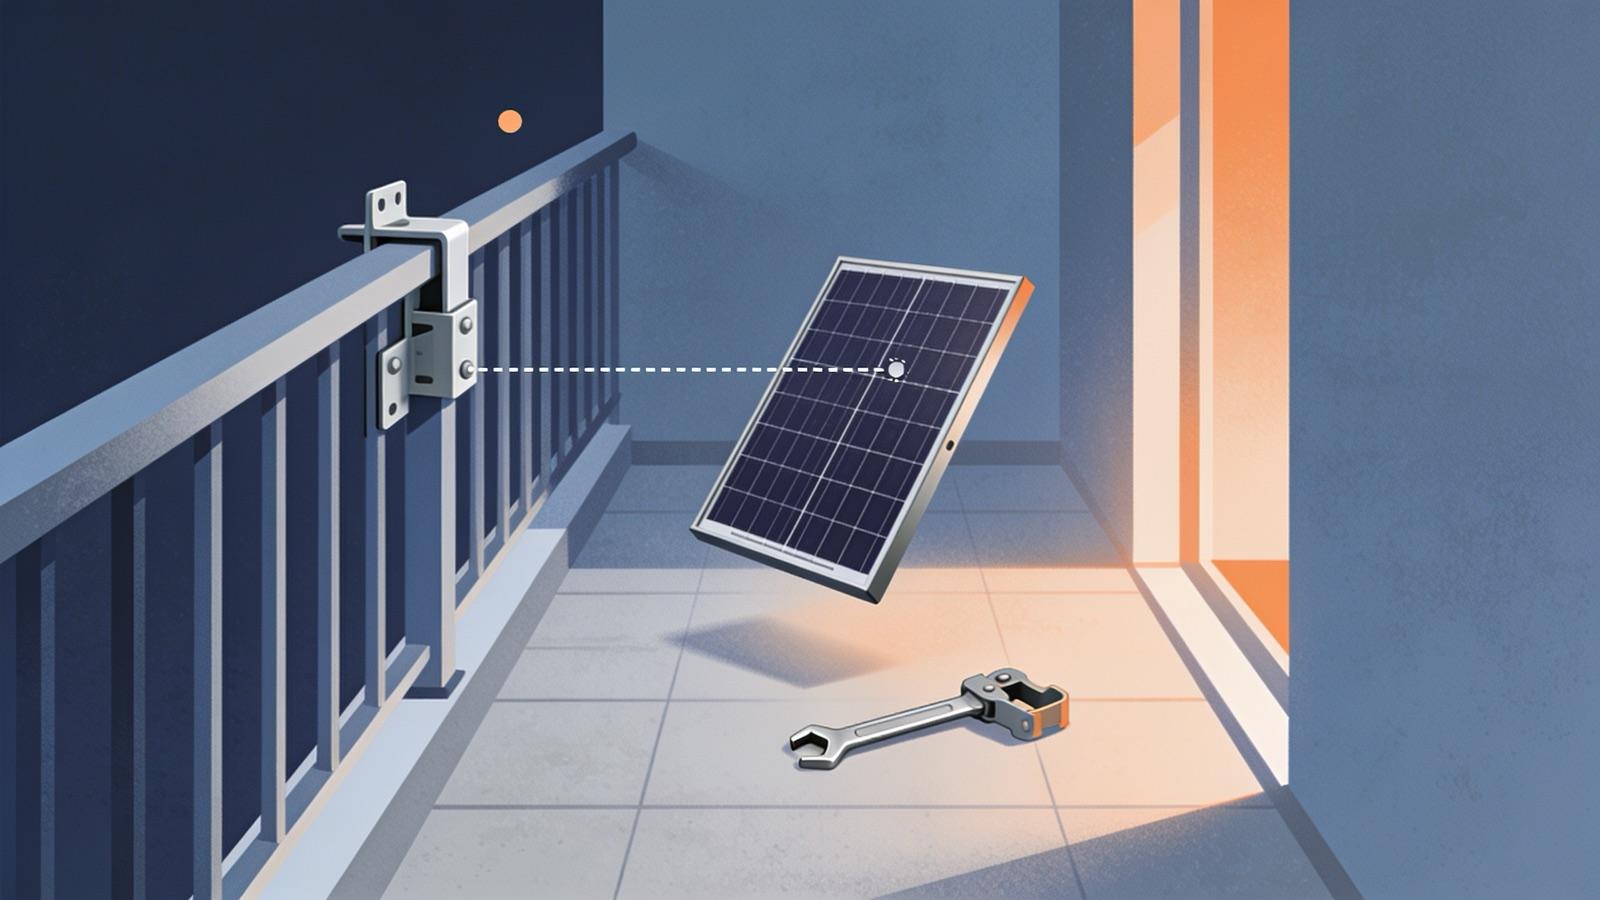
Balcony kits ship with railing hooks or brackets; ground and flat-roof kits ship with a triangular stand you assemble from L-brackets and cross-bars. Two habits from experienced installers save the most rework. Thread every bolt loosely first — keep the frame articulable until the panel is on and aligned, then tighten everything in one pass. And check orientation as you go: on triangular stands the longer bars belong on top where the panel mounts, and the cross-brace's flat side faces where the microinverter will attach. For ground stands, anchor the bases with the supplied stakes or screws before mounting panels; an unanchored array is a kite.
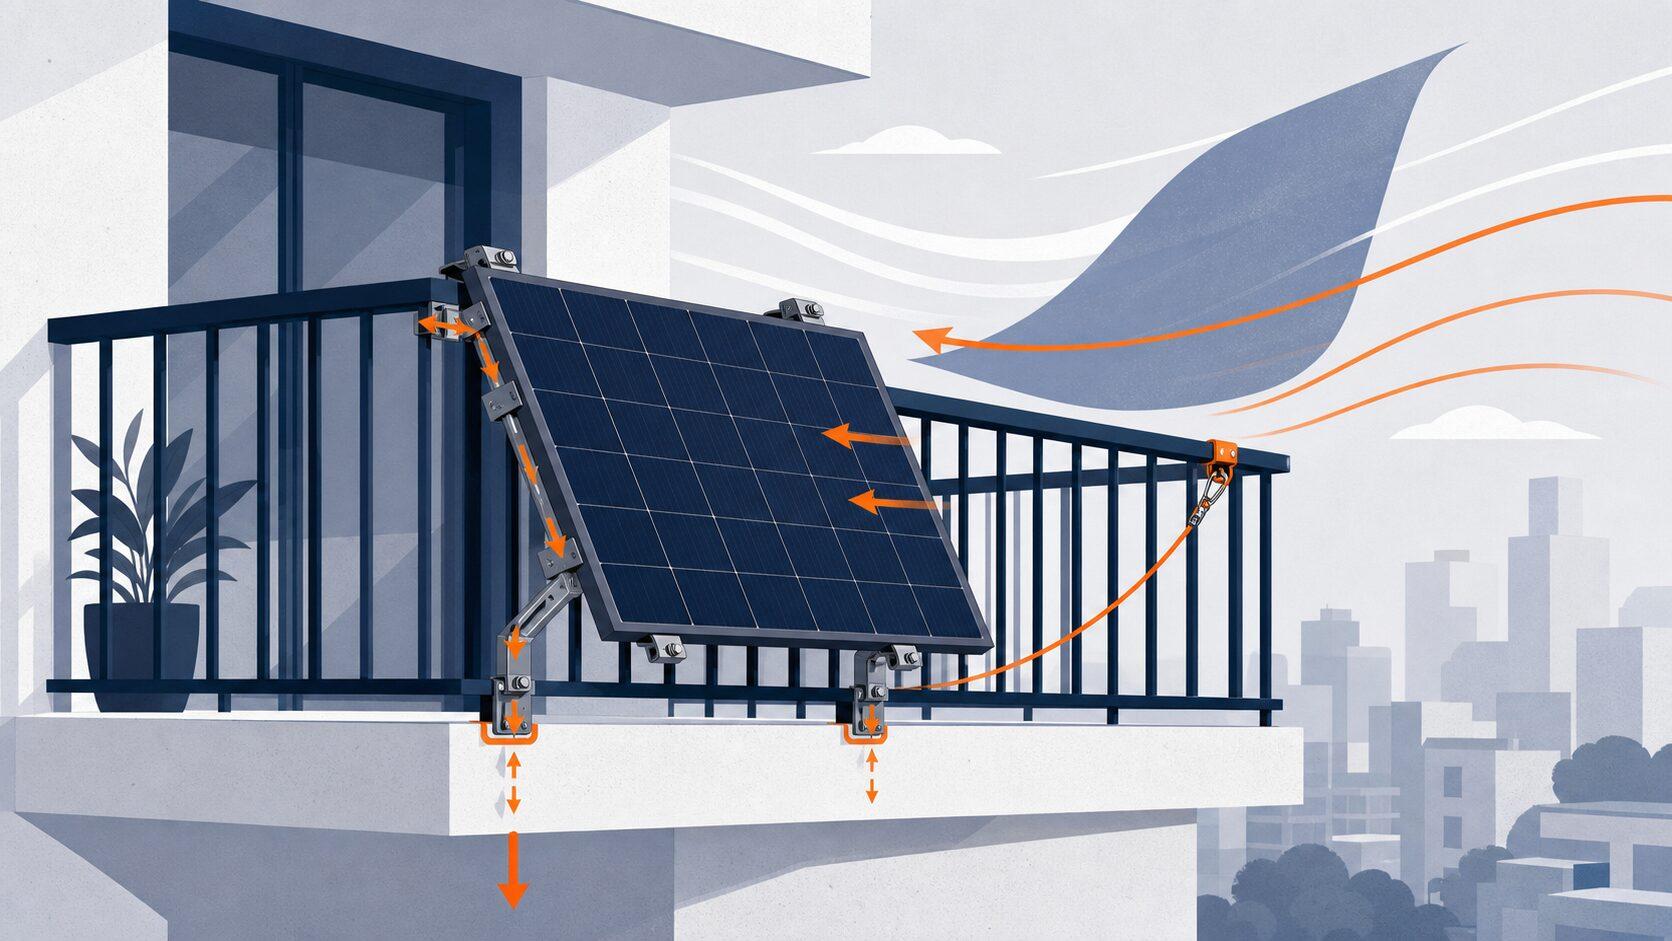
On a balcony railing, respect the mount's rated tilt and the railing's own condition. The mount must grip the railing without deforming it, and nothing about the assembly should reduce the guardrail's integrity or block an escape route. Height and exposure raise wind loads sharply — if the kit offers a wind-load rating, compare it honestly with your floor and orientation, and re-torque clamps after the first storm.
Step 2 — Mount the panel and place the inverter
Bolt the panel to the frame through its elongated mounting holes, square it up, then do the final tightening pass on every fastener. The microinverter mounts behind or beneath the panel — and the placement rule matters more than most manuals emphasize: keep it shaded. Microinverters run hot under load; direct summer sun on the casing triggers thermal throttling that quietly cuts your output, and mounting one flat against a dry surface adds risk. Behind the panel, on the frame's cross-brace, is shaded by design. Route every cable along the frame with UV-resistant ties — loose cable on a hot surface degrades its insulation season by season.
Step 3 — Wire panels to inverter
Panel-to-inverter connections use MC4 connectors, which are keyed so positive and negative cannot be swapped. Match each panel's positive and negative leads to one MPPT input on the inverter and push until you hear the click — that click is the watertight lock, and a connection that has not clicked is the most common source of intermittent output. If your kit pairs two panels per input or the built-in leads are short, use proper MC4 Y-adapters and extensions, not improvised splices.
One wiring mistake destroys hardware outright: putting panels in series when the inverter expects parallel. Two panels in series double the voltage, and most balcony microinverters cap input around 55-60 V — exceeding it can blow the input capacitors permanently. Check the inverter's maximum input voltage against your panel's open-circuit voltage and wire exactly as the manual shows. When in doubt: parallel keeps voltage flat and adds current; series adds voltage. Balcony kits almost always want parallel.
Step 4 — Connect to the house: verify circuit protection
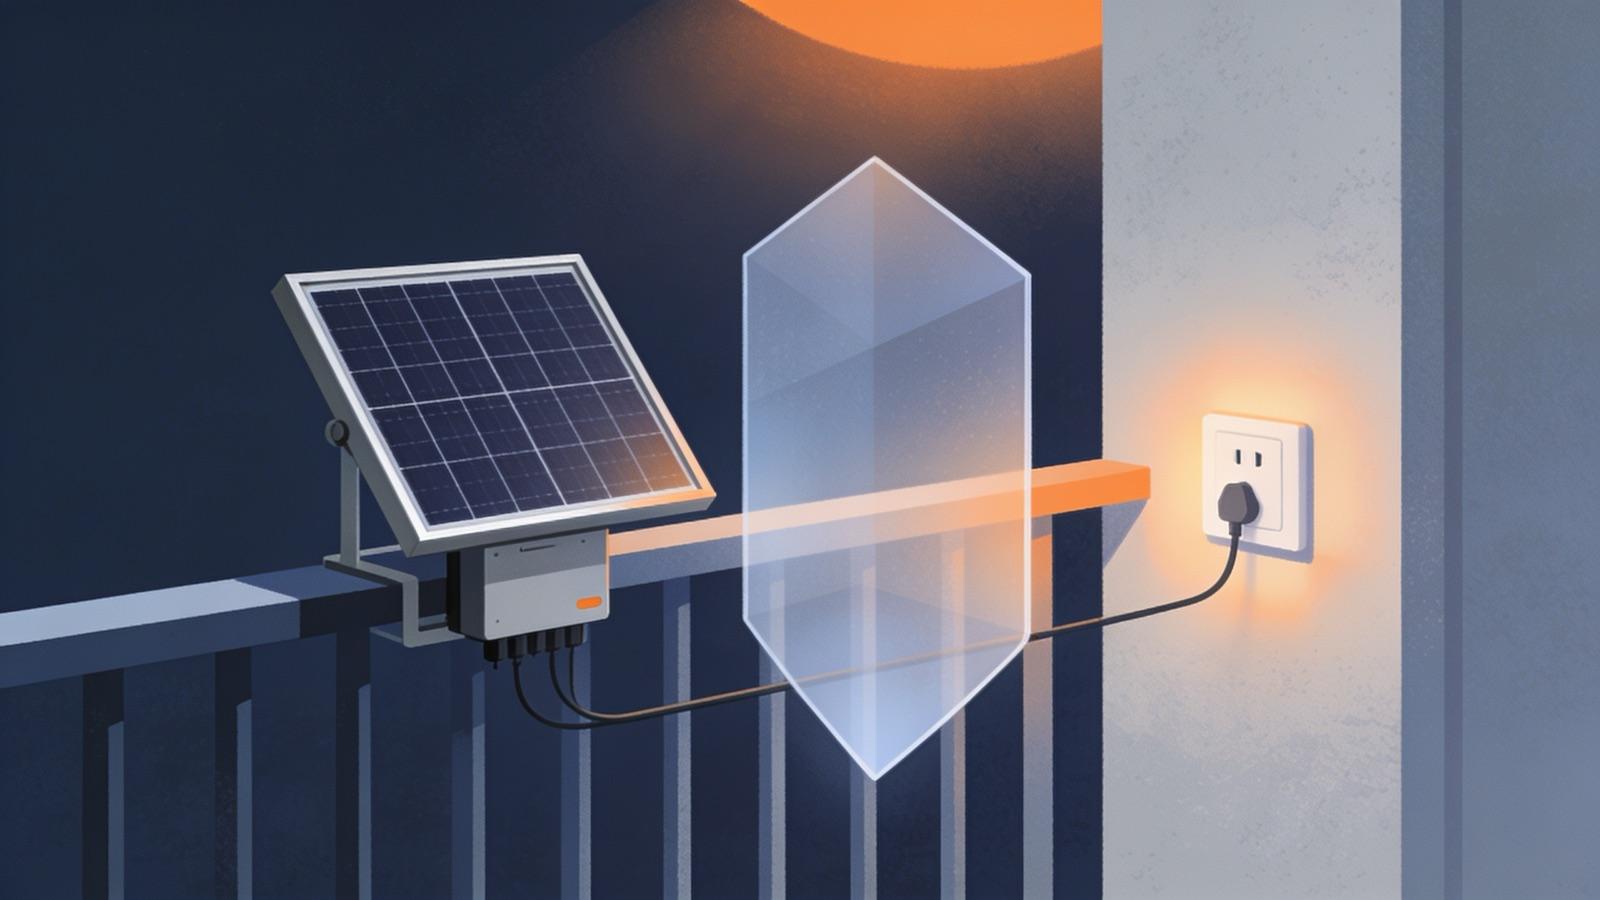
Now the AC side. The inverter's output cable plugs into your wall outlet — and which outlet is the one decision worth slowing down for. A breaker protects a circuit's wiring by limiting the current flowing from the panel through the breaker. Solar fed in at an outlet enters after the breaker, so on a busy circuit, appliance current and solar current can stack in the same wall wiring beyond what it is rated for — and the breaker cannot see the overload. That is the failure mode that overheats wires inside walls.
Do not invent a circuit rule from outlet appearance or nearby appliances. Use a dedicated branch when the law, utility, system evaluation or manual requires it. A shared final circuit is a candidate only when the complete product has an evaluated protection method and the local pathway accepts that arrangement. Never use an extension cord, adapter or power strip. Battery systems require their own evidence because solar-only standards and connection rules may exclude storage.
Step 5 — Commission in daylight
Commissioning is where first-time installers burn the most time, and almost every failure traces to three quirks. Microinverters boot from panel DC power, so the system can only be set up while the sun is on the panels — pairing at night is impossible, and late-afternoon attempts get flaky. Setup apps overwhelmingly require a 2.4 GHz Wi-Fi network: 5 GHz and merged-band router configurations are the single most common pairing failure, and an SSID with spaces in its name trips up some firmware too. And if you are installing more than one inverter, power them on and pair them one at a time — multiple units broadcast the same default network name, and you will not know which one you just configured.
Once paired, apply the firmware update the app offers before trusting any numbers, then confirm you see live production. If your kit includes an energy meter with CT clamps at the breaker panel, mind the arrow on each clamp: reversed clamps report negative consumption and make the app's savings math nonsense. Meter work inside the panel means shutting off the main disconnect and verifying zero volts first — if that sentence gives you pause, that one component is worth an electrician's hour even though the rest of the kit is plug-and-play.
The mistakes that actually happen
- Sharing a circuit with heavy appliances — the overload the breaker cannot see. Dedicated circuit, always.
- Series wiring into a parallel-input inverter — doubled voltage, dead inverter. Check maximum input voltage first.
- Inverter in direct sun or flat on the ground — thermal throttling and lost output. Shade it behind the panel.
- Commissioning at night or on 5 GHz Wi-Fi — the app will fail, and it will not tell you why.
- Multiple inverters powered on together during setup — identical default SSIDs, unidentifiable devices.
- CT clamps facing the wrong way — negative readings and garbage statistics.
- Hot-plugging expansion batteries — power everything down and disconnect from the grid before stacking; and stack the smallest, oldest battery at the bottom.
- Loose cables on hot surfaces — zip-tie everything to the frame; insulation ages fast against hot shingles and metal.
- Skipping the re-torque — check every clamp and bolt after the first storm and each season.
Frequently asked questions
Do I need an electrician to install plug-in solar?
Not for the core installation where a plug-in framework is in force — the product category exists precisely so that mounting, MC4 wiring and plugging in are consumer tasks. The two exceptions: optional smart-meter installation inside the breaker panel, and any dedicated-socket work such as a German Wieland connection. Both are short, inexpensive electrician visits.
How long does installing a plug-in solar kit take?
Plan for two to four hours for a typical one- or two-panel balcony or ground kit: roughly an hour for frame assembly, an hour for mounting and wiring, and the rest for app commissioning. Roof-mounted variants and battery systems take longer. The pace is closer to assembling furniture than to electrical work.
Can I plug my solar kit into any outlet?
No. The outlet, branch circuit, protective devices and connection method must match the exact product instructions and current local pathway. Some systems require a dedicated circuit; an evaluated system may support another protected arrangement. An unused or lightly loaded outlet is not proof. Never use extension cords, adapters or power strips to create the connection.
Why won't my microinverter connect to the app?
In order of likelihood: it is not getting DC power (commissioning only works in daylight), your phone is handing it a 5 GHz or merged Wi-Fi network (it needs plain 2.4 GHz), your SSID has spaces some firmware mishandles, or multiple new inverters are broadcasting identical setup networks at once. Power on one unit at a time, in sun, on 2.4 GHz.
Can I add more panels or batteries later?
Usually, within limits. Panels can be added up to the inverter's input count and voltage/current caps — check maximum input voltage before wiring anything new, and keep panels parallel unless the manual says otherwise. Expansion batteries must be added with the system powered off and disconnected from the grid, stacked with the smallest and oldest unit at the bottom.
Where should the microinverter be mounted?
Shaded and ventilated — ideally on the mount's cross-brace behind the panel itself. Microinverters run hot under full load, and direct sun on the casing causes thermal throttling that silently costs you output on exactly the days that matter most. Never lay one flat on dry grass or a hot surface.
Check your location
Framework status and exact product eligibility are separate checks.
The best plug-in solar kits of 2026, ranked
Now you know how it works — here are the kits we track, compared by configuration, AC output, verified price and certification evidence.
| Product | Exact configuration | Output | Panels / storage | Verified offer | Availability | UL 3700 evidence |
|---|---|---|---|---|---|---|
| EcoFlow STREAM Microinverter | STREAM Microinverter — bare unit | 1,200 W grid-tie | Not included | $299 · USD | UT · region only | not-verified |
| EcoFlow STREAM Ultra + Microinverter | STREAM Ultra + STREAM Microinverter | 1,200 W grid / 800 W hardware | 1,920 Wh | $1,459 · USD | UT · region only | not-verified |
| CraftStrom 400 Watt Plug&Play Solar | 400 W Eco-Line kit | 350 W grid / 400 W hardware | 2 panels | $499 · USD | US · in stock | not-verified |
| CraftStrom 800 Watt Plug&Play Solar | 800 W complete kit | 700 W grid / 800 W hardware | 4 panels | $2,031 · USD | US · in stock | not-verified |
| CraftStrom 1600 Watt Eco-Line Plug&Play Solar | 1600 W Eco-Line kit | 1,400 W grid / 1,600 W hardware | 8 panels | $3,187.5 · USD | US · in stock | not-verified |
| Bright Saver Flex180 single-panel kit | Flex180 single-panel kit | 180 W grid-tie | 1 panels | $399 · USD | US · in stock | not-verified |
| Plug In Solar Utah 3 Panel EcoFlow STREAM Kit | 3-panel EcoFlow STREAM kit | 1,200 W grid-tie | 3 panels | $1,299 · USD | UT · region only | not-verified |